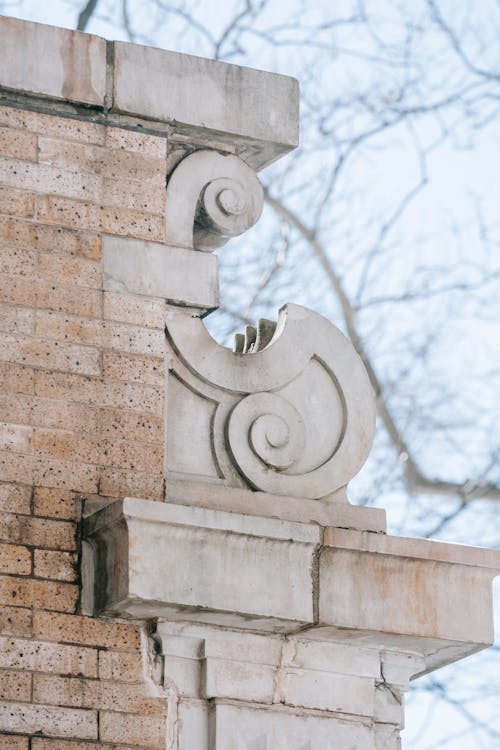
Cornices, those elegant architectural details that embellish the upper edges of interior walls, have been a hallmark of sophisticated design for centuries. They serve both aesthetic and practical purposes, adding character to a room while concealing joints between walls and ceilings. Over time, however, cornices can deteriorate, develop cracks, or become damaged. When this happens, it’s crucial to address cornice repair to preserve the beauty and charm of your home. In this comprehensive guide, we’ll delve into the art of cornice repair, providing step-by-step instructions to help you restore these decorative elements to their former glory.
Understanding Cornices
Before we get on the journey of cornice repair, it’s essential to grasp the significance of these architectural features:
- Aesthetic Enhancement: Cornices add a touch of elegance and grandeur to a room, drawing the eye upward and creating a finished look.
- Concealing Imperfections: They are designed to conceal the sometimes uneven and unattractive seams where walls meet the ceiling, providing a seamless transition.
- Variety of Styles: Cornices come in various styles, from simple and understated to ornate and highly decorative, allowing for design flexibility.
- Durability: While cornices are durable, they can still be susceptible to damage over time due to factors like settling of the building, moisture, or accidental impacts.
Now, let’s explore the steps involved in cornice repair.
Tools and Materials You’ll Need
Before you begin, gather the necessary tools and materials for cornice repair:
- Ladder or Scaffolding
- Safety Equipment (gloves, safety goggles, and a dust mask)
- Putty Knife
- Utility Knife
- Plaster Patching Compound
- Sandpaper (medium and fine grit)
- Primer
- Paint (matching the existing color of the cornice)
- Drop Cloth
- Caulk (for sealing gaps, if necessary)
Step 1: Safety First
Safety is paramount when working on any home improvement project, and cornice repair is no exception. Before you start, make sure to:
- Set up a stable ladder or scaffolding to access the cornice safely.
- Wear appropriate safety gear, including gloves, safety goggles, and a dust mask, to protect yourself from dust and debris.
- Lay down a drop cloth to catch any falling debris and protect your floor or furniture.
Step 2: Inspect the Damage
Examine the cornice to determine the extent of the damage:
- Look for cracks, chips, or areas where the plaster has pulled away from the surface.
- Identify any areas where the cornice may have separated from the wall or ceiling.
- Note any missing or loose sections of the cornice.
Step 3: Remove Loose or Damaged Material
To prepare the cornice for repair, remove any loose or damaged material:
- Use a utility knife or putty knife to gently scrape away loose or chipped plaster.
- Be cautious not to damage the remaining cornice during this process.
Step 4: Patching and Repair
Now, it’s time to repair the damaged areas of the cornice:
- Prepare the plaster patching compound according to the manufacturer’s instructions. You’ll typically mix the compound with water to create a workable consistency.
- Apply a thin layer of the compound to the damaged areas using a putty knife. Smooth the compound out as evenly as possible, feathering the edges to blend with the surrounding cornice.
- Allow the compound to dry thoroughly, following the recommended drying time on the product label.
- Once dry, sand the patched areas with medium-grit sandpaper to achieve a smooth and even surface. Wipe away any dust.
- Apply a second layer of compound if needed, repeating the drying and sanding process.
- After the final layer is dry and sanded, prime the repaired areas with a high-quality primer. This helps the paint adhere properly and provides a uniform surface.
Step 5: Painting
Matching the paint to your existing cornice color is essential for a seamless repair:
- Use paint that matches the existing color of the cornice. If you’re unsure of the exact color, consider taking a small sample to a paint store for color matching.
- Apply paint to the repaired areas, following the natural lines and patterns of the cornice. A small, fine paintbrush is often ideal for this task.
- Allow the paint to dry completely before assessing the color match. If necessary, apply additional coats to achieve a seamless blend.
Step 6: Caulking (if necessary)
If the cornice has gaps or areas where it meets the wall or ceiling, consider using caulk to seal these:
- Choose a paintable caulk that matches the color of the cornice.
- Apply a thin, even bead of caulk to the gaps and smooth it out with a wet finger.
- Allow the caulk to dry, then paint over it to match the cornice.
Step 7: Final Inspection
Before concluding your cornice repair project, take the time to inspect the entire cornice for any additional imperfections or areas that may need attention:
- Look for any missed cracks, chips, or other issues.
- Make any necessary touch-ups with paint or plaster patching compound.