A hot shower on a chilly morning or warm water for your daily chores is a simple pleasure that most of us take for granted. However, achieving that comfort relies on a well-executed water heater installation. Water heaters play a pivotal role in our daily lives, and knowing how to install them correctly ensures a consistent supply of hot water.
Understanding Water Heaters
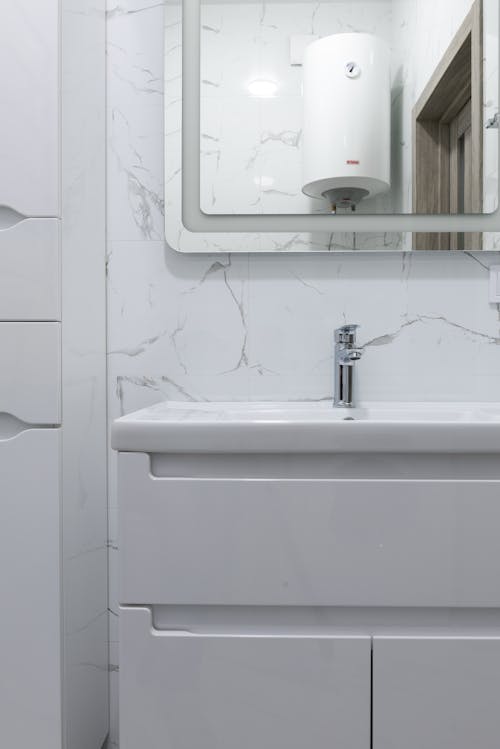
Before delving into the installation process, it’s essential to understand the types of water heaters available. The choice of water heater depends on various factors, including energy efficiency, space availability, and the hot water demand in your household. Here are the most common types:
- Tank Water Heaters: These are the traditional, familiar water heaters that store and heat a specific volume of water, which is continually replenished. They are relatively affordable but may consume more energy to keep water hot all the time.
- Tankless Water Heaters: Tankless water heaters, also known as on-demand water heaters, heat water only when it is needed. They are energy-efficient and can save on utility bills, but they tend to cost more upfront.
- Heat Pump Water Heaters: Heat pump water heaters use electricity to move heat from the air or ground to heat water. They are energy-efficient but may be less effective in very cold environments.
- Solar Water Heaters: Solar water heaters use energy from the sun to heat water. They are an eco-friendly option but may require a significant initial investment.
Important Considerations before Installation
Before you begin the water heater installation process, consider the following key factors:
- Fuel Type: The availability of fuel types such as electricity, natural gas, or propane will influence your choice of water heater.
- Location: Determine where you plan to install the water heater. It should have adequate ventilation, space, and be close to the water and electrical or gas supply.
- Water Heater Size: The size of the water heater should be appropriate for your household’s hot water needs. It’s crucial to calculate the demand accurately to avoid running out of hot water or excessive energy consumption.
- Energy Efficiency: Select a water heater with a good Energy Factor (EF) rating to reduce your energy consumption and lower utility bills.
The Water Heater Installation Process
Now that you’ve considered the type of water heater and the factors involved, it’s time to dive into the installation process. Keep in mind that installing a water heater can be a complex job, and it may be best to hire a professional plumber or technician for this task. However, for those with DIY skills and experience, here’s a general overview of the installation process:
Step 1: Gather Necessary Tools and Materials
Before beginning the installation, ensure you have all the required tools and materials, including a new water heater, pipe fittings, insulation, safety gear, and a wrench.
Step 2: Turn Off Utilities
For safety reasons, shut off the gas or electricity and the water supply to your old water heater. This is a crucial step to avoid accidents.
Step 3: Drain the Old Water Heater
Connect a garden hose to the drain valve of your old water heater, and drain the water into a suitable location, like a floor drain or outside. Ensure the water is cool before proceeding.
Step 4: Disconnect the Old Water Heater
Disconnect the gas or electrical supply, as well as the water lines. This may require a pipe wrench or adjustable pliers.
Step 5: Remove the Old Water Heater
Once everything is disconnected, carefully remove the old water heater and dispose of it properly. Most old water heaters can be recycled.
Step 6: Prepare the Installation Site
Ensure the installation area is clean and level. It’s essential to follow the manufacturer’s instructions regarding the required clearances and ventilation.
Step 7: Install the New Water Heater
Carefully position the new water heater in the designated space. Connect the water lines (hot and cold) and the relief valve, ensuring all connections are tight. If you’re installing a gas water heater, connect the gas line and check for leaks with a soapy water solution. If it’s an electric water heater, connect the electrical supply.
Step 8: Insulate the Pipes and Tank
For improved energy efficiency, insulate the hot water pipes and the water heater tank. This helps to reduce heat loss during water transportation and storage.
Step 9: Turn On the Utilities
Turn the water and energy supply back on. For gas water heaters, ensure the pilot light is lit correctly. For electric water heaters, confirm that the heating element is functioning.
Step 10: Set the Temperature
Adjust the temperature setting on the water heater to your preferred level. It’s recommended to set the water temperature to a safe and energy-efficient range.
Step 11: Check for Leaks
Inspect all the connections for any water or gas leaks. Address any issues immediately.
Step 12: Dispose of the Old Water Heater
Dispose of the old water heater following local disposal regulations or recycle it if possible.